Showing posts with label 50s dress. Show all posts

Monday, December 23, 2013

Practically Completed Vogue 2401

Except from hemming the bottom, Vogue 2401 is finally done. Thank goodness.

General thoughts:

Overall, this wasn't a terribly hard pattern (except, of course, for those darn wrap ties). Granted, the fabric I chose to work with wasn't the easiest to sew, but overall I think the silkiness of it looks great. The collar is a real strong point of this pattern, very sharp looking and gives the dress a sophisticated 1950s, Dior feel. The skirt isn't quite as full as I thought it would be; I'm not sure if it will be possible to wear a petticoat underneath.The wrap ties that are connected to the front sides of the skirt remind me of the Butterick walk-away dress (B 4790). The waist came out a bit tight, I definitely need help getting in and out of this dress. Luckily there was enough room in the sleeves with this pattern, something I've had trouble with in patterns lately.

Would I make it again? Yes, I think I would. Maybe next time with taffeta, or a more casual cotton.

Pictures? Of course!

I swear, it looks better on!

See what I mean? Totally looks like the Butterick walk-away dress. Although, I must say, an overall more snazzy design. 

yeah, the flash makes things ultra-bright

Anyways, Happy Holidays, and Happy Sewing!


Saturday, December 14, 2013

Bah, Humbug: Vogue 2401

So I feel like I've been to hell and back with this bodice. As usual, there aren't enough pictures with the pattern directions, especially around the wrap ties/lower bodice area. I've googled this pattern to see if anyone that had made it put pictures on their blog with the wrap ties untied. Not much out there. What exactly has been the most difficult part? Attaching the wrap ties to the bodice. Doesn't sound hard, but its been tricky finding where exactly to attach them so no seams show and so the arm holes are free. I think I finally have it down though. Eureka!

Here's a picture:
wrap tie attached to the side, underneath the front side piece, there are three layers of fabric on this seam

This took a long time! So glad its over. Unfortunately the waist is a bit small, but doable, maybe insert a zipper later.

Here's a picture with the wrap ties tied:
at least the wrap ties are nice and long, so I can make a substantial knot

If you decide to make this pattern, be patient with this portion. It may also help to use a thicker, sturdier fabric. Although I like my choice, it is thin, and moves around a lot! 

Oh, and did I mention I got the collar attached? Well, obviously you can see by the pictures. It was actually quite painless. The sew-in interfacing was much thicker than what I'm used to sewing. I used a stiff, thick one. I recommend using a fairly stiff one, since the collar is such a central element of this garment. Pressing numerous times is a must! You have to fiddle with it a bit to get it to set right, but it eventually does. The collar has a seam down the center back (the collar comes in two pieces). The sew-in interfacing helps reinforce this seam.

The seams are fraying like mad with this satin fabric I'm using, I think I'll have to track down my extra bottle of fray-check (love this stuff). Next I need to attach the skirt which comes in several pieces. Getting there!

Happy Sewing

Monday, December 9, 2013

Side Pieces, Wrap Ties, Fa La La La La

Man oh man. Holidays. Know what I'm saying? But I have made some progress on Vogue 2401, despite shopping, gift wrapping, decorating, and the oh-so-cold temperatures here. I'm to the wrap ties portion of the dress. They've been confusing. They are attached to the bodice back, but not the sleeves, creating even more seams near the armpits. I've been turning this thing inside, and outside, and back again, trying to attach these wrap ties. Oh, and I've learned how to use Power Point to create pictures with arrows and hopefully some more helpful descriptions of what I'm talking about. 

Bodice Back:

Not hard at all, pretty self-explanatory.

Bodice Side Front:

You have to stretch and rotate this piece so that it attaches straight. Hey, whatever gives the garment some extra inches around the waistline!

The top seam is turned inside, while the bottom is left with the seam showing. Like I mentioned earlier, this portion has been a holdup. I think I'm past it, but we'll see. As with every project, you really never know until its finished and you've tried it on.

Nitty Gritty insides:

The nasty insides, where rugged seams and fraying edges meet. You can see where the wrap tie is turned inside with the second arrow. Only part of the wrap is turned, the exposed lining shows where it isn't. 

Final Shot:

This is what the top looks like so far. Aye aye aye, always the roughest part of garments for me.

What's up next? Collar. Groan. I'm using sew-in interfacing which I've never used before. And I will be attaching shoulder pads, which I've never done before. Should be interesting. 

Happy Sewing!

Tuesday, December 3, 2013

A Good Ol' 1950s Holiday Dress, Progress on Vogue 2401

Aye aye aye. Haven't posted in a week. Thanksgiving, copious amounts of food and cooking, and a cranky puppy. Those are my excuses. Good ones? I don't know. But I have made some good progress on Vogue 2401, henceforth known as my holiday dress.

So, I finished lining all the bodies pieces. This took a while, but I think it will be worth it. The first order of business (i.e. the directions actually in the pattern) was to sew the darts in the back bodice piece. There are a couple in the back portion and in each arm:

the back
the arms

Nothing I haven't done before. I really like the idea of darts on the arms pieces. Why don't many modern blouses have darts in the arms? It adds structure, and look quite nice, giving the garment a tailored appearance. (Looks like I answered my question there, modern garments hardly ever look tailored since that's the style? now) 

There's also a couple little darts near the neck edge:

The back bodice is cut in two pieces, so I had to sew those together, hence the seam running down the back.
Next was the front bodice pieces. I ran into a bit of a snag with these. I forgot to turn the pattern piece over when cutting the alternate side. Result? Two left sides. No good. Rookie mistake. After I figured out what I had done there were a few little darts in each piece. Next was the front bodice side piece to attach to these pieces. Making sense? No? That's okay, here's a picture:
the piece attached at the side is the side piece
Not too bad. You do have to sort of twist the piece to get it to attach straight. The side front piece is a little rounded. FYI-if you make this dress DO clip to the dot of the front bodice. The top of the side piece must slid under the bodice at the armpit. If you don't clip, it won't. 

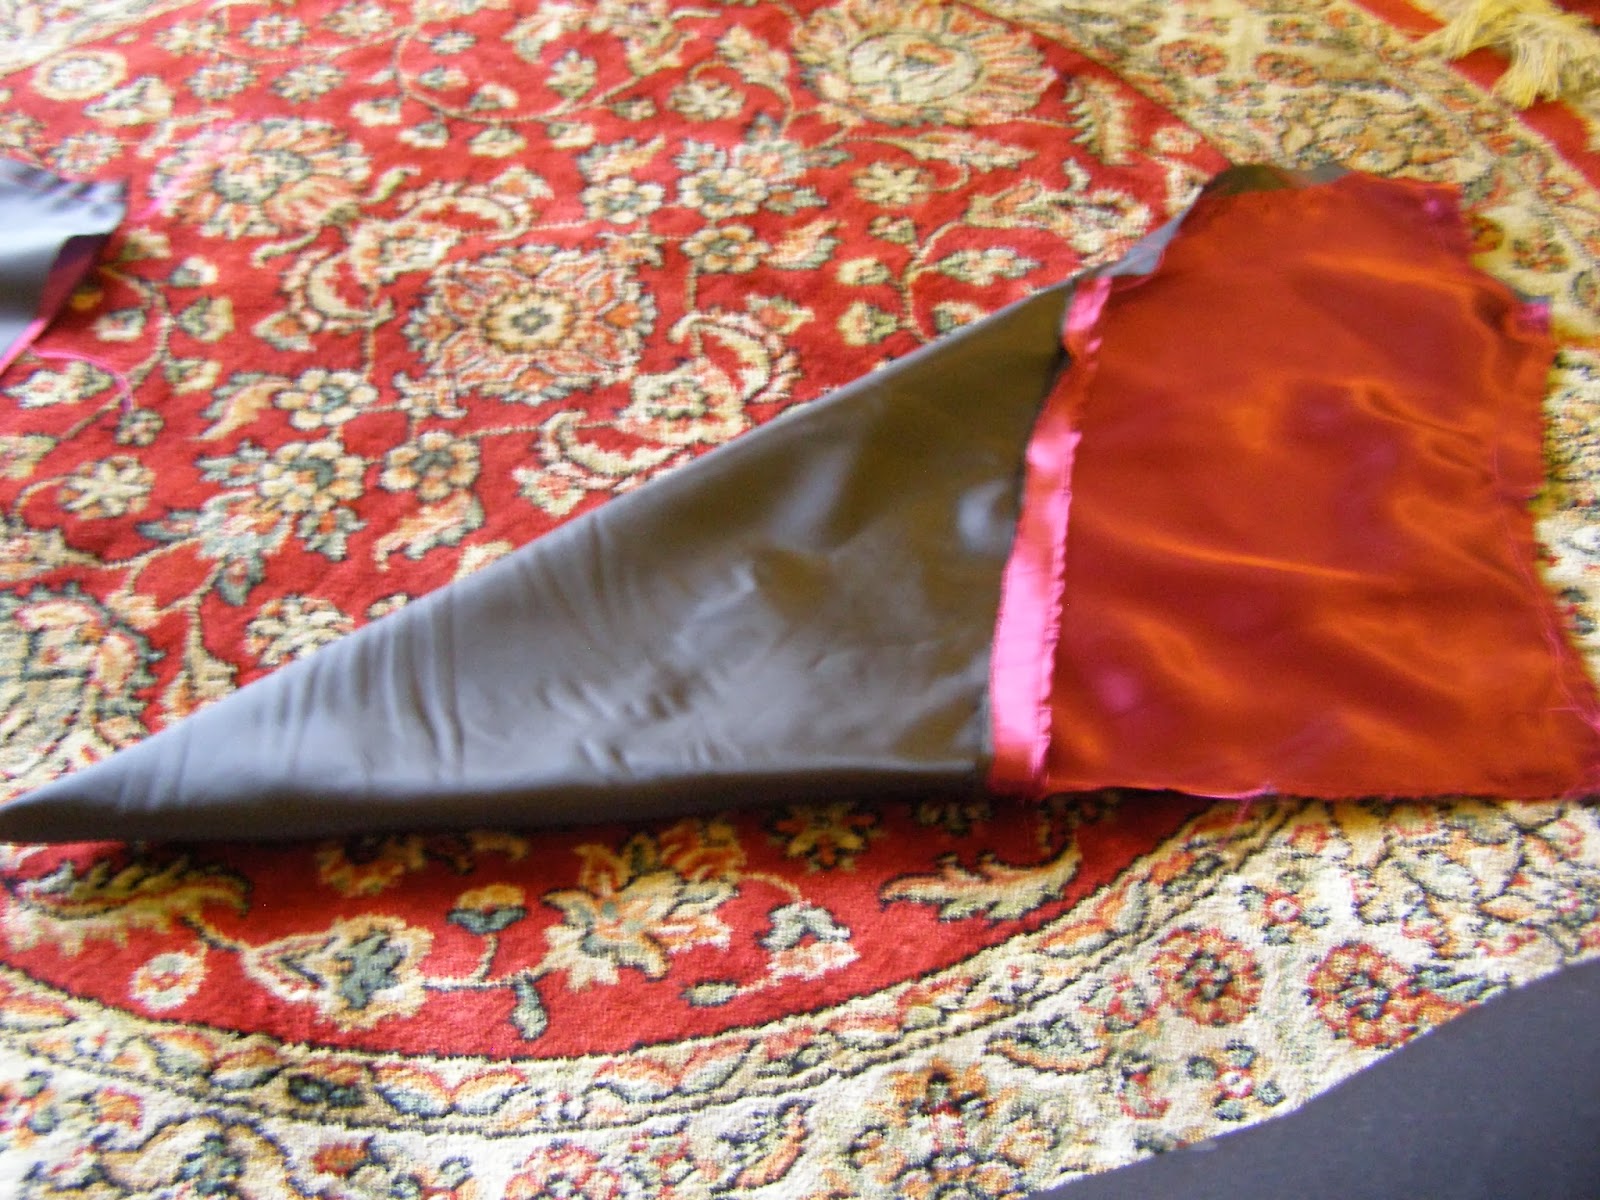
The last thing I've done on this dress is the sewing (pre-attachment) on the other bodice side piece (piece # 4). Its kinda weird. You end up making this piece a triangle on one side with the wrong side facing out:
the seam is sewed at the bottom
The last thing:
still the same piece
Clipping! So very important on this garment. This is the top of the same piece.The folded down triangle part must be clipped at the top. I think I see where they're going with this, not sure yet though.

Whew, that's all for today!


Thursday, November 21, 2013

Do I need a new dress? No, but so what!

So I finished the 40s blouse last week. And I actually wore it! Its pretty comfy, nice and loose. Not exactly the retro look I had expected, but its a nice addition to my wardrobe. So with the holidays coming up I thought why not make a dress? A nice, satiny, shiny, look-like-a-million-bucks dress. I pored over my patterns for several days. I don't know why it takes me so long to decide, it just does. There were several in my stash I thought about making, some really snazzy ones too. And then I came to my vintage vogue patterns. Some of these I've had for about 4 years now, intending on making them, but never actually, well, making them.

I've been a little intimidated by them. They're beautiful, yes, but complicated looking. But I bucked up, and chose one of the "intermediate" level ones. (We'll see if it is really intermediate) Its Vogue 2401, a 1952 design, with quite the collar:

The red one has longer sleeves. I'm going with that one, mostly because I forgot to shorten the sleeve piece before I cut the fabric. What fabric am I using you ask? Its a magenta, satin. Probably polyester, yes I know, but i got it very cheap. A good thing too, because this dress calls for almost 6 yards. Yesh! Typical vintage style, nothing compared to historical dresses though!

Ironing such a big piece takes a while, let me tell you
it still ended up wrinkled when it came to cutting

Currently the pattern pieces and dress pieces are residing on the living floor in a heap. Soon it will take shape! Holidays here I come!

On the horizon? Well, other than making this dress? I've been thinking about posting on reconstruction era dresses (late 1860s). I'm quite interested in the transition from the huge hoop skirts of the civil war era, to the "natural" form of the 1870s and the bustle skirts of the 1880s. The reconstruction era (to me anyways) seems like a forgotten era in historical fashion, much like the 1830s. 

Look for this post soon!

Monday, October 14, 2013

A Vintage Find, and an Old Bedsheet

Last year, during our beach vacation in California, I found this pattern in an antique store in Cambria:

It was only $4, And all the pieces were there, And the instruction sheet! Most vintage patterns on Etsy aren't even that cheap.

It was a size 16, so a 36in bust, which is my proper size, well, except for the waist and hips. I had to "re-size" the pattern from the waist down. I used Gertie's help instructions for re-sizing vintage patterns found here: http://www.blogforbettersewing.com/2010/06/vintage-pattern-sizing.html.

So I sat on this pattern for over a year, making other things when I had the time. A month ago I decided why not? I dug through my fabric stash, not able to decide on anything, when I remembered I had kept some twin-size bed sheets, intending to use them as fabric at some point. They were my bed sheets when I was an undergrad sleeping on a small lumpy bed in a room without padding under the carpet. Ah, the good ol' days, not!

So this dress presented me with a few new challenges. First of all: the buttonhole. Oddly enough with all the things I've made I haven't had to do any buttonholes. Lots of "invisible zippers," but no buttonholes. I practiced a lot on scrap fabric before I sewed them onto the dress.

Another thing was the stiff, i.e. interfaced collar. This wasn't hard, and I must say, I like the effect. While sewing it I realized why some collars on shirts you buy are wrinkly and don't stand up: no interfacing. My husband always complains about Old Navy shirts being this way. I must say, unless they are using a really, really, thin interfacing, there isn't any in their collars.

Lastly, I learned the french tack stitch. What is that you may ask? Look on a men's tie. See the single but thick stitch on the backside of the tie where the seams meet? That's it, a french tack stitch. Super useful. I learned how to do it from FashionSewingBlogTV in this youtube video: http://www.youtube.com/watch?v=8TP8rgH37Qo
In the construction of this dress it is used to attach the lining to the dress.

All in all, I like this dress. With a belt it looks pretty good. I like it with a thicker belt than the pattern suggests though.

Here it is:

Image courtesy of wikia

Thursday, October 10, 2013

My Black Go-to Dress

At some point last year (can't remember when) I made Simplicity 3673:

I used a black suiting material from Joann's. I can't remember the type of fabric. I think it was polyester (isn't everything) or some kind of mystery blend. I've really gotten my mileage out of this dress. I've worn it to the symphony, nice dinners, and my MA graduation!

Here it is:
I know, I know, doesn't quite look like the picture. My middle is slightly bigger than the model's, and the shoulder straps are bunched on the hanger. (I really want a dress-form, maybe for Christmas, fingers crossed)

It wasn't the simplest, despite the Simplicity brand. There are twelve darts around the middle. Yep, I said twelve. Technically not difficult, just time consuming (and boring).

Close-up of the darts:


The bodice is lined and the sems are all turned to the inside. You have to pull the whole thing through a 3 inch opening in one of the straps. Pretty cool technique.

There is a zipper down the back with a hook and eye closure at the top. The skirt is pretty full. With a petticoat underneath it looks pretty sweet. I especially like wearing it with a green silky top that has a bow at the top, gives it a real 1930s look, oddly enough.

The Green Dress

In May, after I graduated with my MA (self-congratulatory pap-on-the-back), I decided I wanted a new dress to wear to the opera. The opera was about two weeks away and I was recovering from two years of graduate school. I had bought this pattern:
B5708
Butterick 5708, a 1953 reproduction, many moons before and added it to the stockpile of patterns I keep. It was rated easy, so I figured what the hey. I bought some green crepe back satin at Joann’s. (I know, not always the best store for brand-variety, but I have a need to feel the fabric. Plus, the coupons!)
Here is a picture of the color:
Image
Not the best picture. It looks yellower than it really is. Anyways, it was fairly easy like the pattern says. As with all Butterick patterns, there isn’t an excessive amount of ease/hem allowance, so when they say 30inch waist, they mean it. I would recommend making the armholes a little deeper if you want to wear it tied like the middle picture. I made the armholes to the pattern and they were a bit shallow. As a result, it looked a bit wonky towards the top when I wore it.
There is a crazy amount of gathering around the waist even though it doesn’t look like it. The bodice is lined, the skirt isn’t. Although crepe back satin isn’t one of the recommended fabrics for the pattern, I loved the look and feel this fabric. I can kind of see why it isn’t recommended though, the shoulder ties are rather thick with it since the bodice is lined with the same fabric, just turned to the inside.
Here is the end result:
Image
Image
I wore it to the opera (The Barber of Seville!) complete with petticoat to give it that 50s look. Some lady even stopped me after the performance to compliment me on my dress!